APPLIED TECHNOLOGIES
DRONEX - 6D RVP
Real time Volumetric precision
CHECK IN REAL TIME THE GEOMETRY ALLIGNMENT OF THE MACHINE TOOL
PARPAS presents a revolutionary PATENTED technology applied to machines tools, to check, manage and control the geometry conditions of the machine, designed to improve and the performances.
In reaffirming its own global leadership in designing and manufacturing very high accurate and reliable machines and FMS and as a result of the continuous dedication to research and development.
It is well known that there are various situations generating a geometric/structural deformation in a machine tool and such causing a deviation from the nominal position of the tool center and vector, with all the negative effects related to that:
- Variation of the ambient temperature due to the seasons, to the daily weather conditions or the temperature difference between day and night
- Thermal sources (heat or cold) generated when operating the machine
- Foundation settlement
- Mechanic wearing
Obviously the larger the machine the larger the deviation of the tool center and vector from the pre-programmed nominal position, caused by the deformation and bigger will be the advantages given by this technology.

FUNCTIONS AND ADAVANTAGES
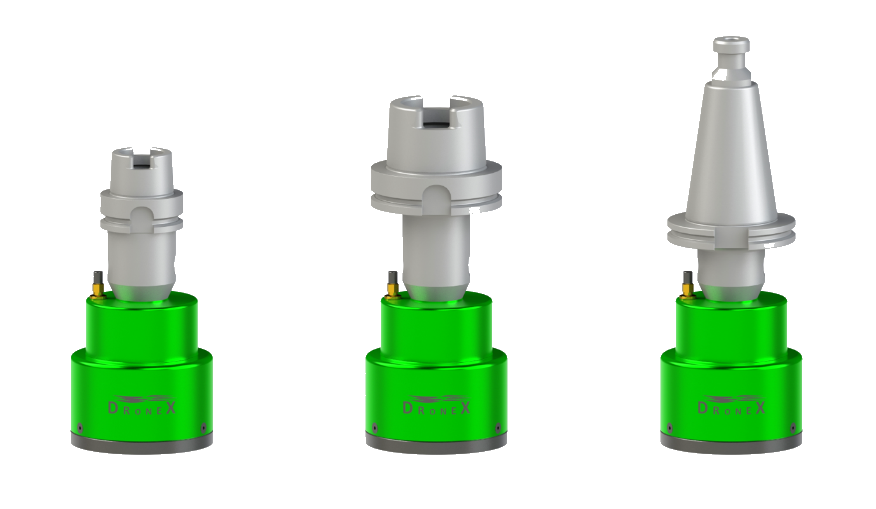
- To use the probe as a tool
- Check the geometry alignment of the machine in all movements by scanning the work area, or an identified area, with a feed rate up to 60 meters/minute
- PREVENT EVENTUAL MACHINING ERRORS CAUSED BY UNACCURACIES OF THE MACHINE
- The scan process is fully automatic with a simple “FUNCTION START” in the NC-code or in MDI without wasting time in preparation and/or mounting.
- Programming: feed, number of points and size of the grid as programming a tool path
- Export the images and create a database to keep track the geometry of the machine on a period of time
- Create a tracking record of the geometry of the machine in a specific period of time
- Self-certificate and option to send the geometry status of the machine to the Customer at any time
- Scan process can be done remotely
- It is not necessary to free up the work area to scan or to recalibrate
- To generate in real time the 3D mapping with colour rendering of the scan area, combining different colours to the deviations from the nominal “zero” position
- Perform multiple scans on multiple predefined areas
- Perform scanning on multiple predefined levels
- Set tolerances and colors
- Identify the most accurate zones where to machine. With this application it is intuitive and visible the alignment of the machine and decide choices and machining strategies.
